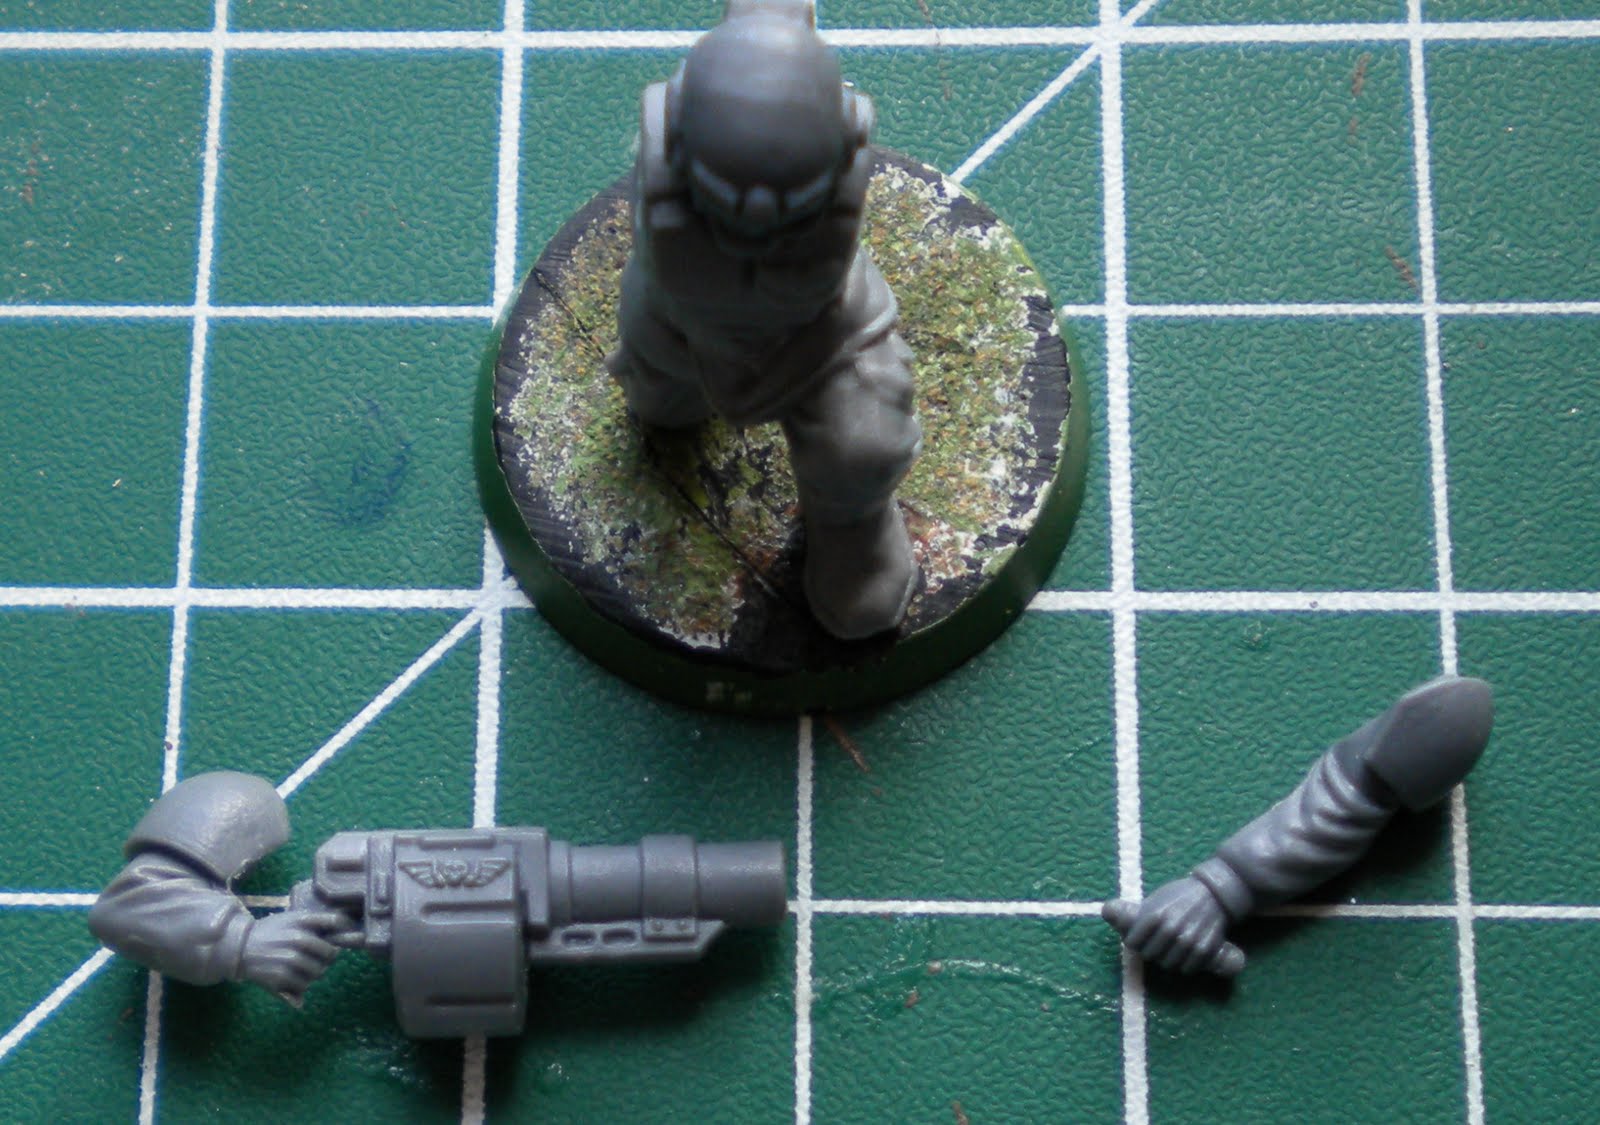
I love converting my Models, its fun and by doing it, i feel like i am making them mine. Even if its just moving a hand or weapon about. So i thought i would start documenting one of the Funnest parts of my hobby life.
The first Conversion Corner tutorial will be on how to change the front handle of the Imperial Guard Grenade Launcher. I think the front handle on the Grenade Launcher looks weird , being off to the left side, the same goes for the melta gun and plasma gun. The only thing a side handle looks good on, In my opinion is the Flamer and the M56 Smart Gun from Aliens. OK now that's off my chest on with the tutorial.
OK these are the tools and parts you will need.


I have magnetized both arms to help me show them in place. I recommend dry testing to see if the parts fit before gluing them.
Cut the Grenade Launcher off the right hand,then Cut the left hand that's holding the handle off at the wrist.

Cut the right hand off at the wrist, then you will need to trim the back so it's flat.
Cut the top and bottom off the handle from the left hand.

The right arm:
The best way is a bit tricky,but will help in positioning later on. Drill a hole using a 1/32", 0.79mm drill bit.Into the end of the right arm and the right hand. Cut a length of paper clip about 4mm and put them back together.

You have two options on how to attach the Grenade Launcher back onto the arm.
The first is to leave the Launcher off , until you have attached both the left and right arms to the torso.

The second is to glue the right hand onto the Launcher.
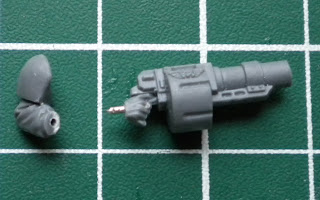
The left arm:
Just like on the right arm, drill a hole in the end of the left arm and the left hand. Then cut a small length from a paper clip about 4mm and put then back together.
This will help you get the right angle, when the Launcher arm is attached.


Remember to dry test the parts first, to see how they fit. Now you can glue the right arm onto the torso and then the left arm.


Now you have a more realistic looking Grenade Launcher trooper.